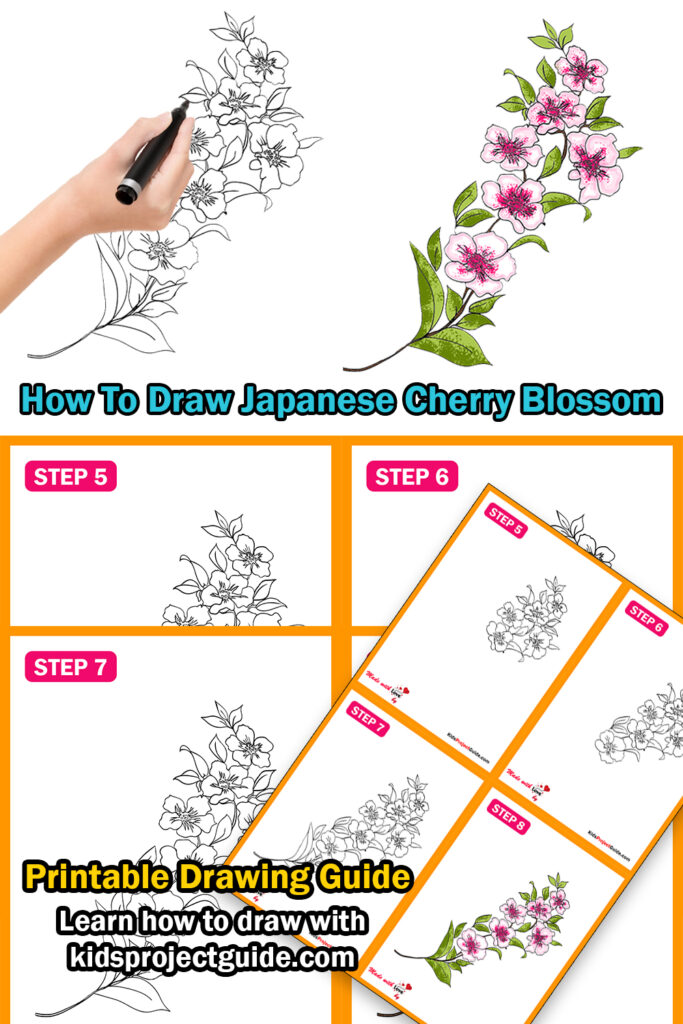
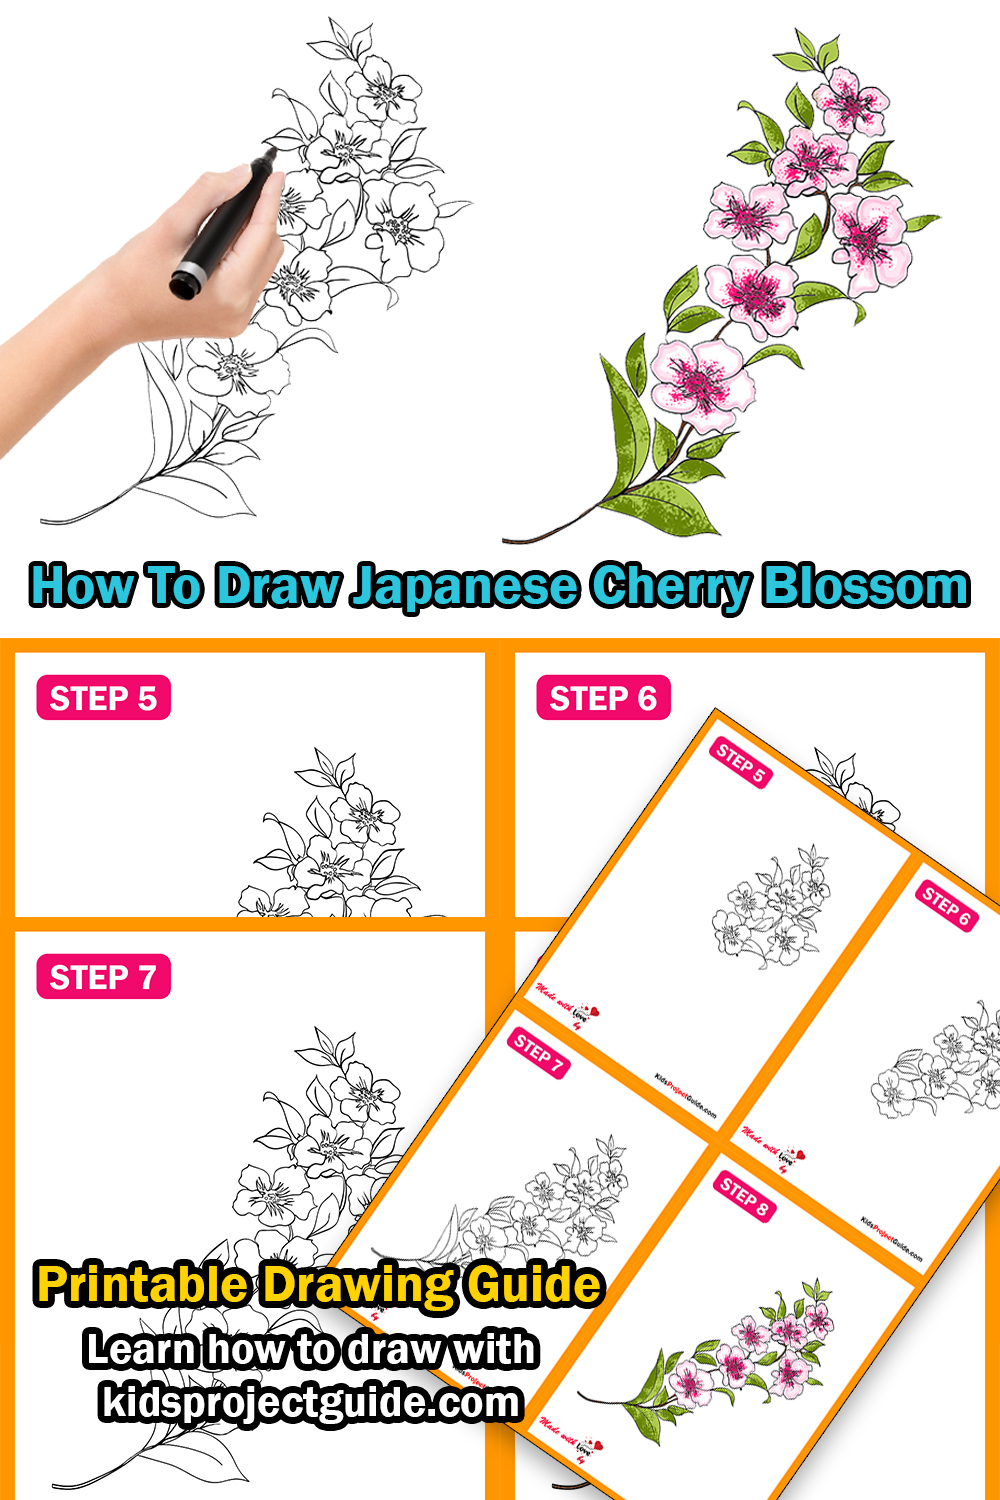
Japanese Cherry Blossoms are the symbol of Spring which is the time of resumption and the environment of short life. Did you smell these Japanese Cherry Blossoms? The smell of Japanese Cherry Blossoms is the most classic womanly fragrance in America.
These flowers grow only in the subtropical islands of Okinawa, which is in the South. The time in which these flowers started growing is the starting of mid-January.
If you love the spring season, then you will definitely love to draw these flowers to cherish yourself! Let’s have a glance at the drawing steps of the Japanese Cherry Blossoms.

How To Draw Japanese Cherry Blossom: Step By Step Instruction
To draw these beautiful Japanese Cherry Blossoms, let’s see what things are needed for drawing.
- Sharpen pencil
- Sharpener
- Eraser
- Ink eraser (optional)
- Black ink pen
- Color box
Scroll Down to Download How To Draw Japanese Cherry Blossom Coloring Page

Step 1:
In the first step, you have to draw the leaves of Japanese Cherry Blossoms.
Draw normal three leaves. The two of them will be larger, and one will be smaller.

Step 2:
In the second step, you have to draw the petals of Japanese Cherry Blossoms.
Do not make normal round petals.
Draw a total of five three-round tip petals.
Draw a little stamen also.

Step 3:
In the third stage, at first, you draw one more flower like the previous one.
Drawing exactly the same flower just makes it a little bigger than the previous one.
Then add two leaves on the downside of the second flower.
Next, add three leaves separately on the upside of the second flower.
Do not keep the size of the leaves the same. Make them in different sizes.

Step 4:
The fourth step is also very easy. In this step, you have to draw the third flower along with two more leaves.
Draw the third flower on the bottom of the second flower.
Add two leaves with the flowers.

Step 5:
In the fifth stage, you have to draw two flowers.
Do not make extremely large-sized flowers; keep it all nearby.
Add leaves with the new flowers also, and the leaves need to be a larger size than the previous one.

Step 6:
In the sixth stage, make a larger flower than the previous ones.
Draw the petals beautifully and extend the lines of the petals.
Next, you have to add some more leaves along with the petals.

Step 7:
Now make large flower stalks with large leaves.
Draw the leaves perfectly, and the size will be huge than the previous leaves.
Make two leaves on the opposite side of the flower stalks only.
And extend the flower stalk on the bottom.

Step 8:
Now it’s time to put on the beautiful and attractive colors of the Japanese Cherry Blossoms.
Apply two shades of green on each leaf.
Try to combine the two green shades properly by which the differences between those colors can be visible.
Now it’s time to put baby pink colors on the petals. Keep blank on the middle portion of every petal. That will be in a different color.
Now put dark pink color on the middle portion of each flower and give an iconic look to the Japanese Cherry Blossoms.
Take your black ink pen, and draw the outline in black properly. Don’t put double strokes; make them on a single stroke only.
Your beautiful and attractive Japanese Cherry Blossoms are ready to glimpse!
Download Japanese Cherry Blossom Coloring Page


GIPHY App Key not set. Please check settings