Apple is a juicy, rounded fruit of a Rose family. Different colors of apples can be found worldwide. But we mainly eat a bright red color Apple which contains nutrition and helps to lose weight.
Apple has numerous benefits which you even can’t calculate! The proper time to eat an Apple is in the morning hours. The reason behind it is they are rich in nourishing fiber and pectin in their peel.
You can have an apple in the morning time that does not mean you will eat an apple on an empty stomach. If you do it, then you will feel constipated and inflated. So, before eating Apple, you must consume any other foods.
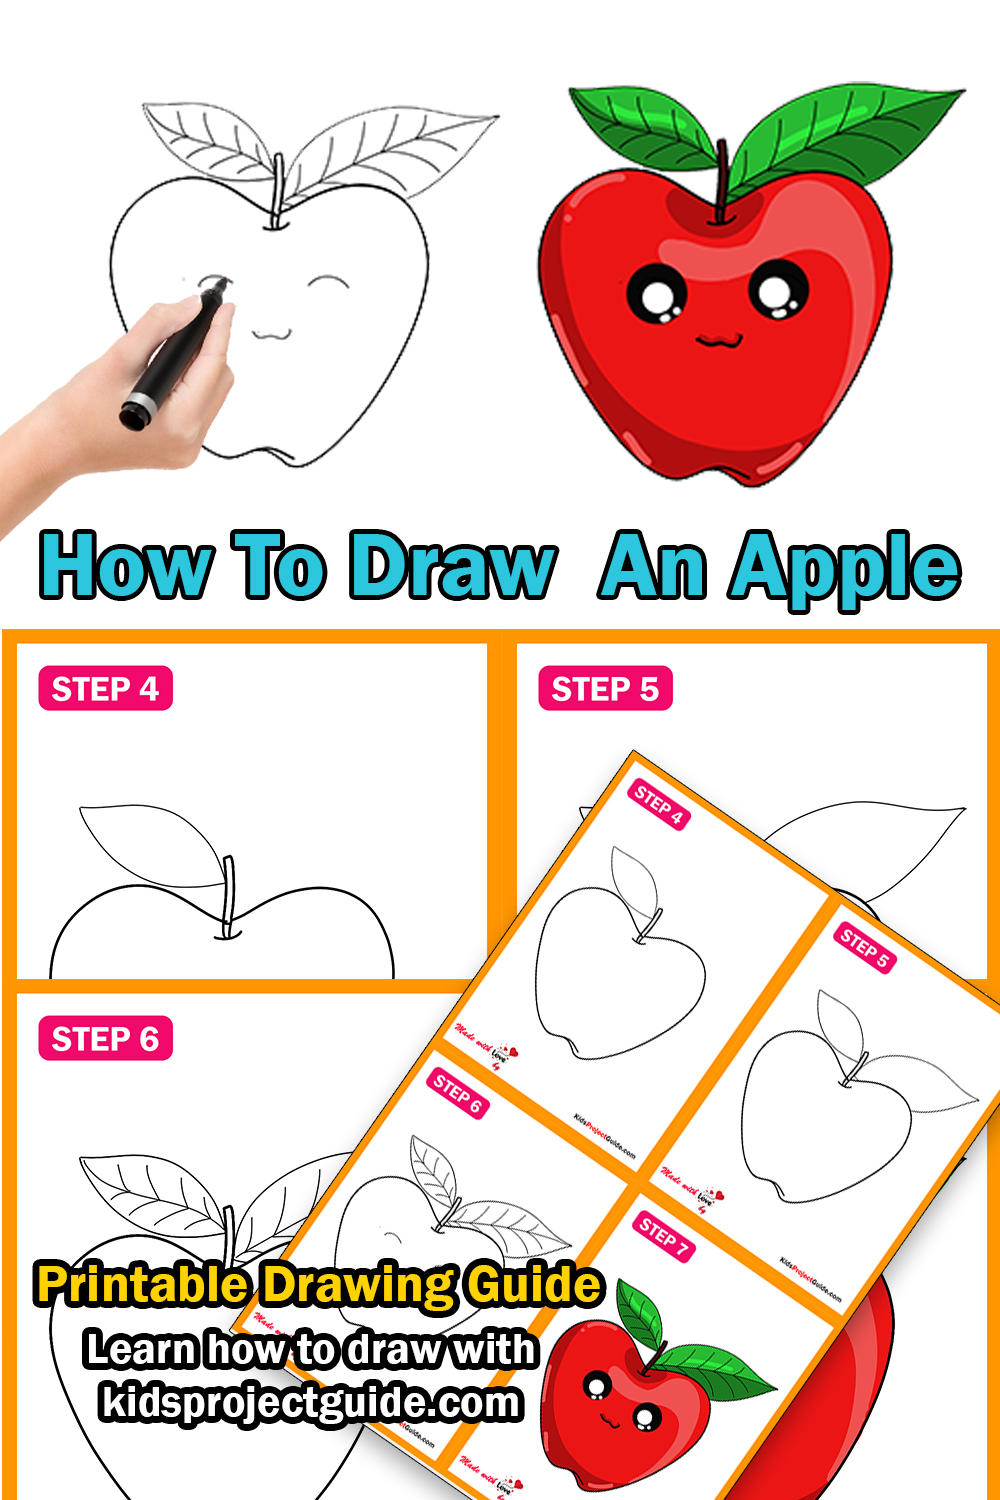
This template is perfect for you if you want to create an art of this juicy, highly advantageous fruit. We have drawn a cute and succulent apple in this template, and the drawing has been divided into seven steps by which you can follow all the steps easily!

How To Draw An Apple: Easy Step By Step Instructions
To draw this outline template, you need to arrange some essentials beforehand. They are as follows.
- A sharpen pencil
- An eraser
- A sharpener (if needed)
- A ruler (if needed)
- A black marker pen (if needed)
- A long white sheet (if needed)
- A drawing board (if needed)
Watch “How To Draw An Apple” Video Tutorial
Scroll Down to Download How To Draw An Apple Coloring Page

Step 1:
The drawing of an apple is very easy and can easily be drawn by learning these guidelines and the above images.
In the first image, we started the drawing by sketching the apple stem, which is nothing hard to draw. You draw two vertical thin lines and join the top part with a horizontal line.

Step 2:
If you have completed the first easiest first step, you can proceed to the second step, where we have drawn the half portion of an apple.
After looking at the second image, it looks like a one-sided heart shape!
To draw this, you can sketch curved lines in the center of your page because you have nothing else to do.

Step 3:
Now, in the third step, we have completed the apple’s body, and the opposite side of the apple will be the same as the previous ones. So, I am not going to repeat the same thing!

Step 4:
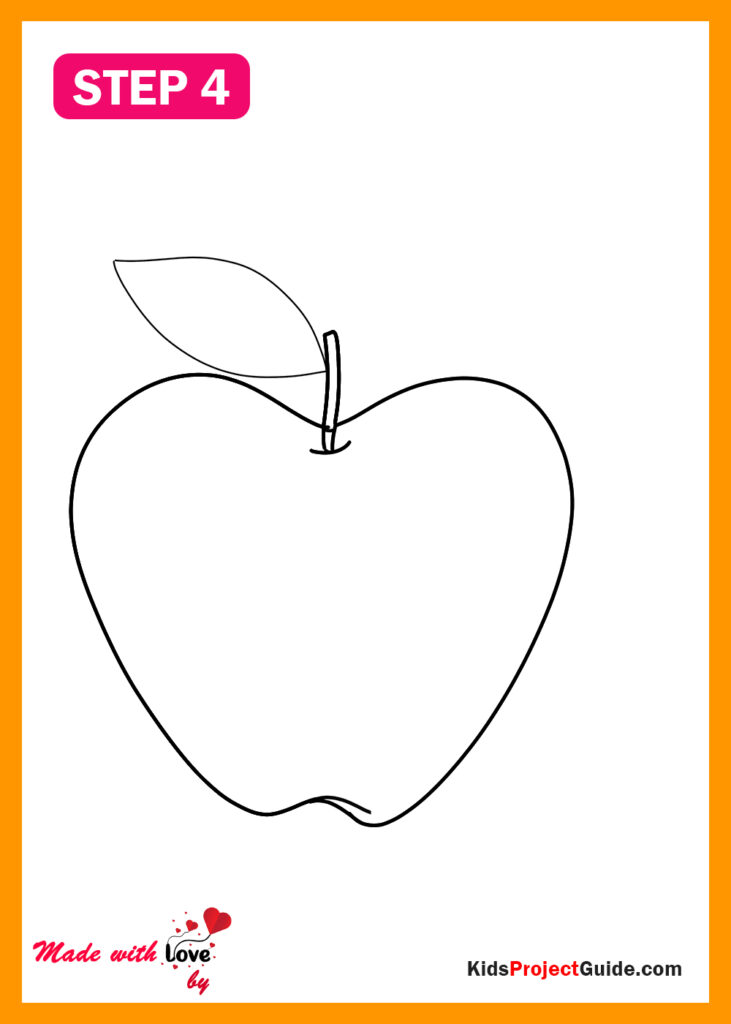
The apple’s stem will look more dashing if you can add a leaf to it! Apple and all other fruits fit the most with their parts like leaf, stem, etc.

Step 5:
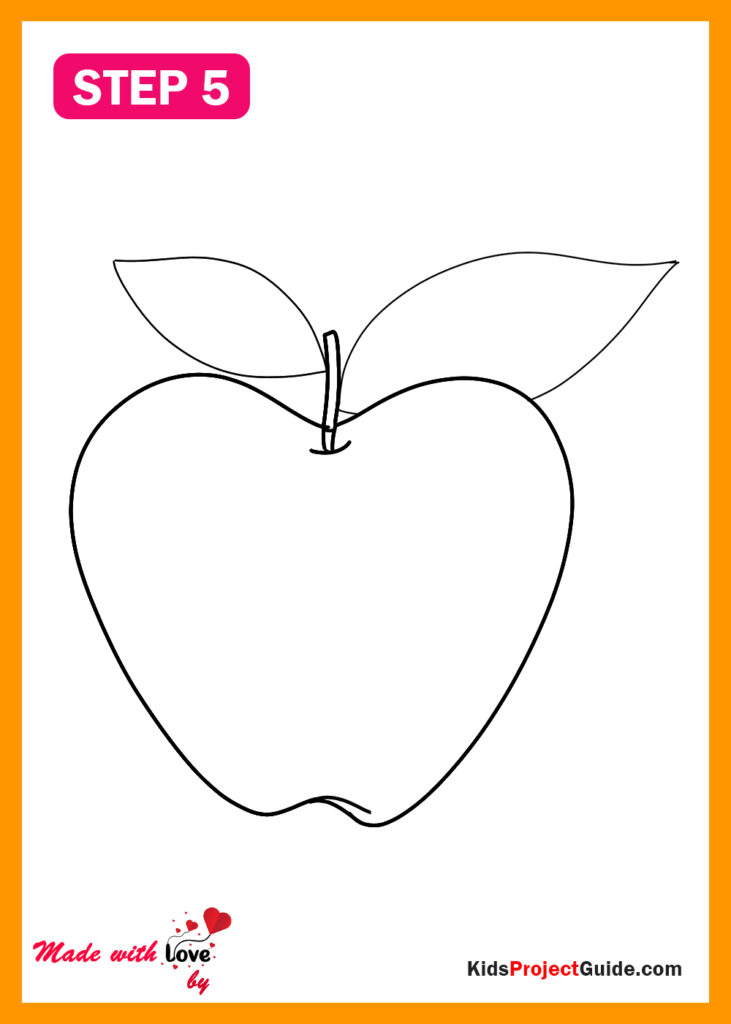
In the fifth step, we added another leaf on the right side, which is comparatively large-sized.

Step 6:
This step is a little different because, in this step, we have added the lead blades and margins without which a leaf is incomplete!
To make the apple funnier, we have added its eyes and nose, after which it looks super cute.

Step 7:
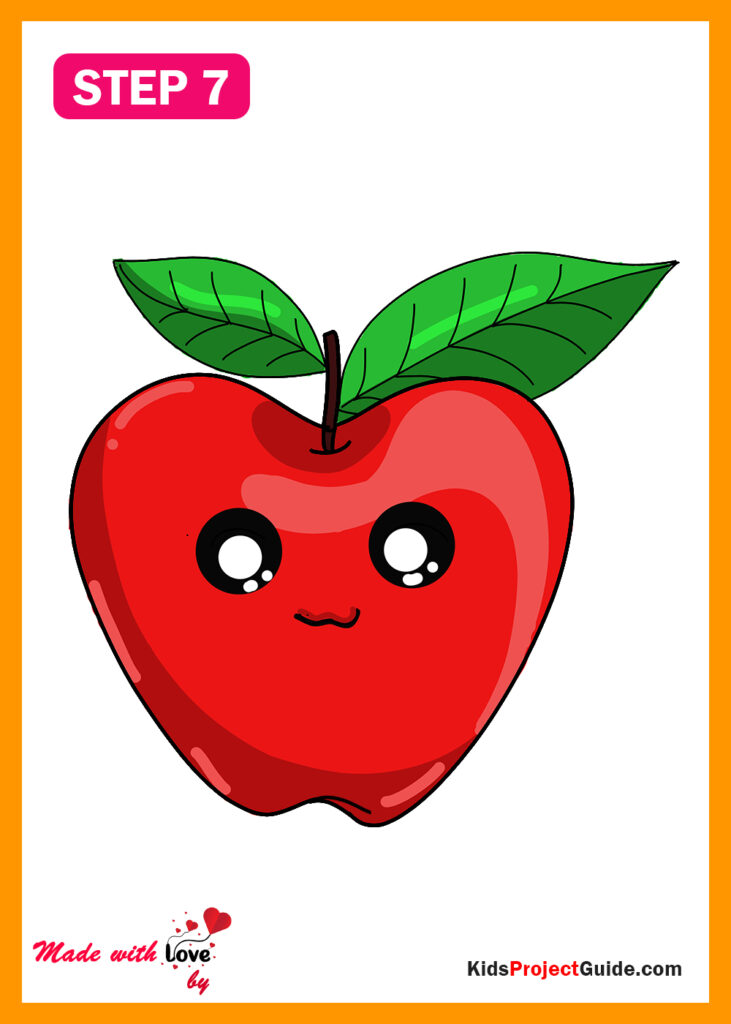
This is the last and final step of this drawing, where we have applied a bright red color to the apple. The apple leaves are green as usual, and the eyes are shining!
If you want to add other colors like green, then you can apply them to it!
Your Apple is ready to eat at breakfast!
An Apple Coloring Page


GIPHY App Key not set. Please check settings