Electronic Guitars are the easiest thing for drawing for beginners. The guitar needs an outer device by which it can produce a classic volume of the performance. In the year of 1992, Jazz guitar players embraced electric guitar.
Woods and instruments are highly connected from the early days of melody. Therefore, sometimes the electric guitars are called ‘tonewoods’. There are different kinds of woods that are used for manufacturing an electric guitar.
As per the looks, there are no such differences between an electric guitar and a normal guitar. Therefore, you can easily recreate one electric guitar for yourself and we are here to help you with a flawless drawing!

How To Draw An Electric Guitar: Easy Step By Step Instructions
Before starting the drawing, it is highly important to gather the drawing essentials without them you cannot draw. So, as the drawing essentials, you can take a pencil, an eraser, a sharpener, etc. These are the critical equipment which you have to arrange.
There is some additional equipment which can also help you to draw the electric guitar more precisely. You can arrange a black marker pen which will help you to darken the outlines. The last element is pastel colors or watercolors (it’s your choice).
Watch “How To Draw An Electric Guitar” Video Tutorial
Scroll Down to Download How To Draw An Electric Guitar Coloring Page

Step 1:
The initial step is very effortless because we try to help our little audiences to get out of their nervousness about making a flawless drawing!
So, in the first step, we have only sketched horizontal lines in the middle of the white paper. If you are facing any difficulty in measuring the two lines then you can refer to the above image.

Step 2:
After completion of the initial step, you can proceed to the second step which is easier than the previous one. In this step, we have just connected the two horizontal lines with the vertical lines of both sides.
This will look like a rectangular box!

Step 3:
From the third step onwards, we have started the drawing of the actual outline of an electric guitar!
You need to draw the strings and the tuning keys of the electric guitar. Afterward, draw the bottom part of the electric guitar which will be like a normal guitar.

Step 4:
In the fourth step; the control key, springs, different switches, bridge, and other elements of the electric guitar need to be drawn.

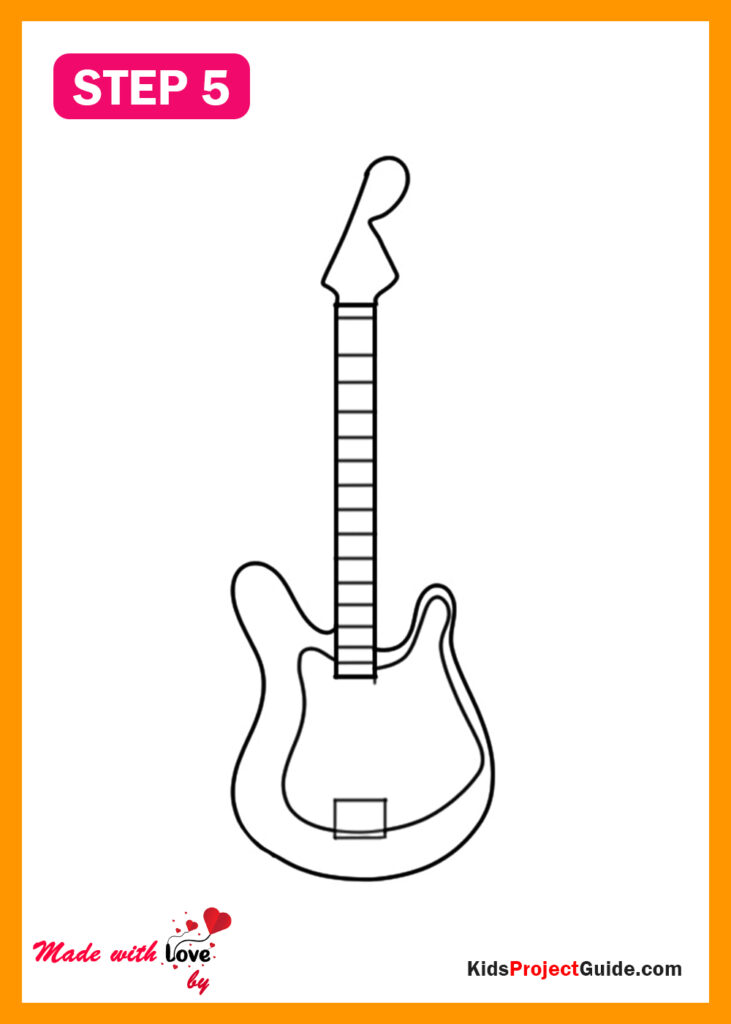
Step 5:
We have already reached the fifth step in which we have drawn different buttons and single coil pickup of the electric guitar’s handle.

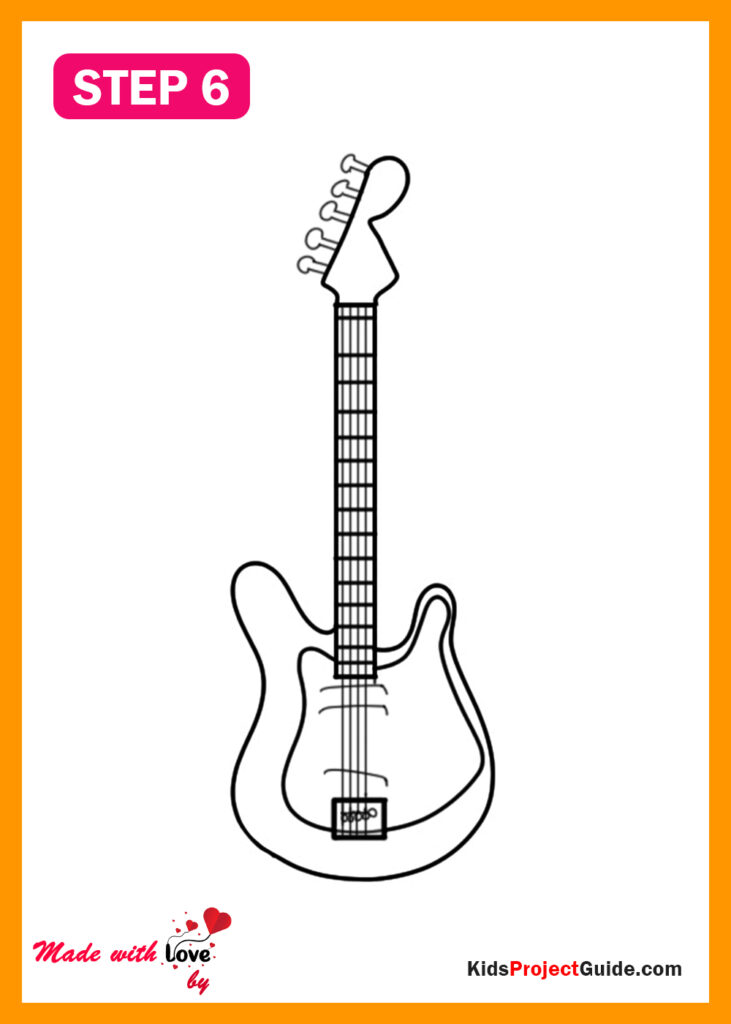
Step 6:
There are also another important element of electric guitars which needed to be drawn in the sixth step.
One more thing, this is the final step of outline drawing therefore you can draw other steps which you have forgotten to add in the previous steps.

Step 7:
As stated before that the previous step was the last step for outline drawing; so, in the step, we applied various colors to the electric guitar.
We have colored the electric guitar with a combination of blue and yellow. If you want to apply your favorite colours then you can definitely do.
Your Electric Guitar is ready to play!
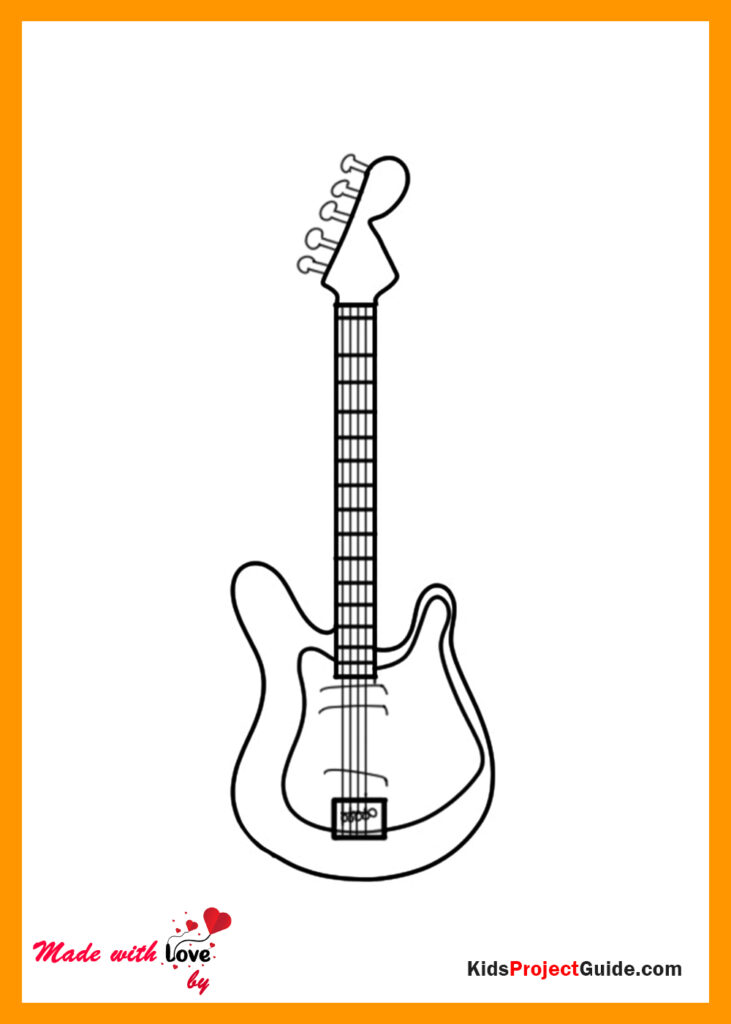
An Electric Guitar Coloring Page


GIPHY App Key not set. Please check settings