
Like hammer, an axe is one of the oldest man-made tools used for cutting, shaping, and splitting wood. Some cultures also have ceremonial connections to this tool, which can also be used as a weapon. An axe is made of two distinct parts, namely, the head and the handle.
Axes are vividly used for mechanical purposes, farming, or other activities. The head of an axe is used to cut, and the handle is gripped inside our palms when we apply force to cut using the axe. The head has a sharp, curvy edge on one side and is connected to the handle on the other portion.
It is a simple yet old machine that is still actively used by people. Some kids’ toys and crafting boxes provide axe toys, which can increase curiosity in their minds about this tool. They can learn more about the axe and even draw one using this simple guide.
The below-listed set of instructions can be helpful to help you draw an axe in 5 simple steps. Follow them in their respective orders, and you shall successfully draw an axe that looks perfectly real.
Watch “How To Draw and “An Axe” Video Tutorial
How To Draw An Axe: Easy Step By Step Instructions
To draw an axe, you shall initially need some supplies. Keep the items in the following list ready before you start drawing.
- A pencil
- An eraser
- A ruler
- A drawing sheet
- A black pen
- Color pencils or pastels
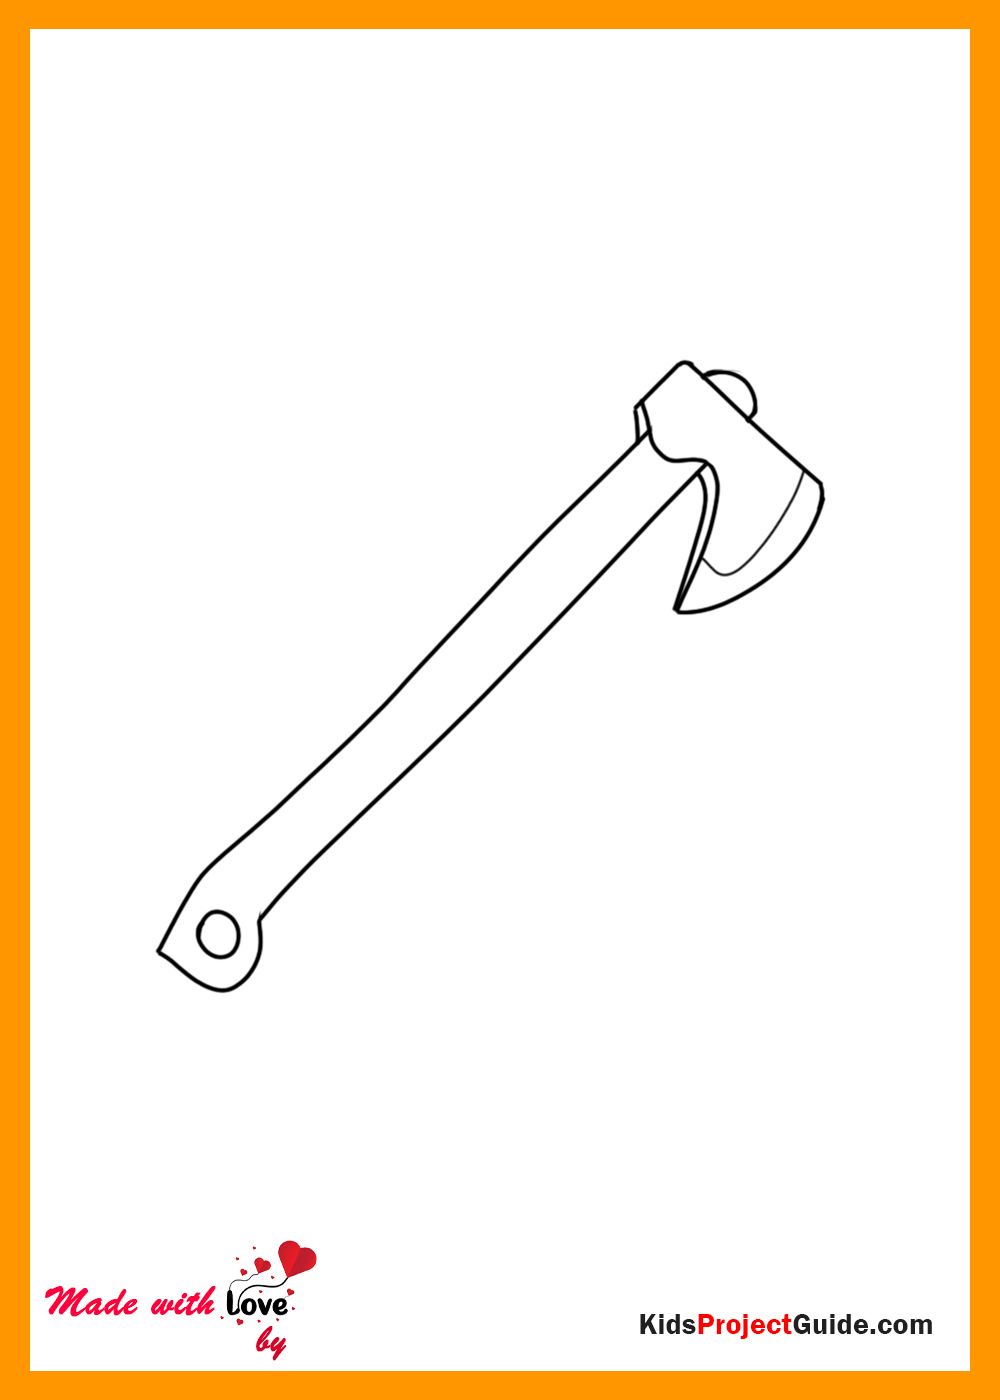
Click Here to Download How To Draw An Axe Coloring Page

Step 1:
Draw a straight line at a tilted angle, using your rules with soft strokes. Trace the line with a curvier and more distinct form and erase the previous line. Add a smaller line to its bottom at a different angle, then draw a half circle on its top, attaching it to the big line.

Step 2:
Add another line beside the first big one and try to keep the new one parallel to it; make sure this line is slightly wavy as well. Keep the second line a bit smaller than the first one and join their bottom ends using a semi-circle.
You can take reference from this picture regarding the positioning of the half circle. Join the top end of the second line to the pre-drawn half-circle connecting the first line.
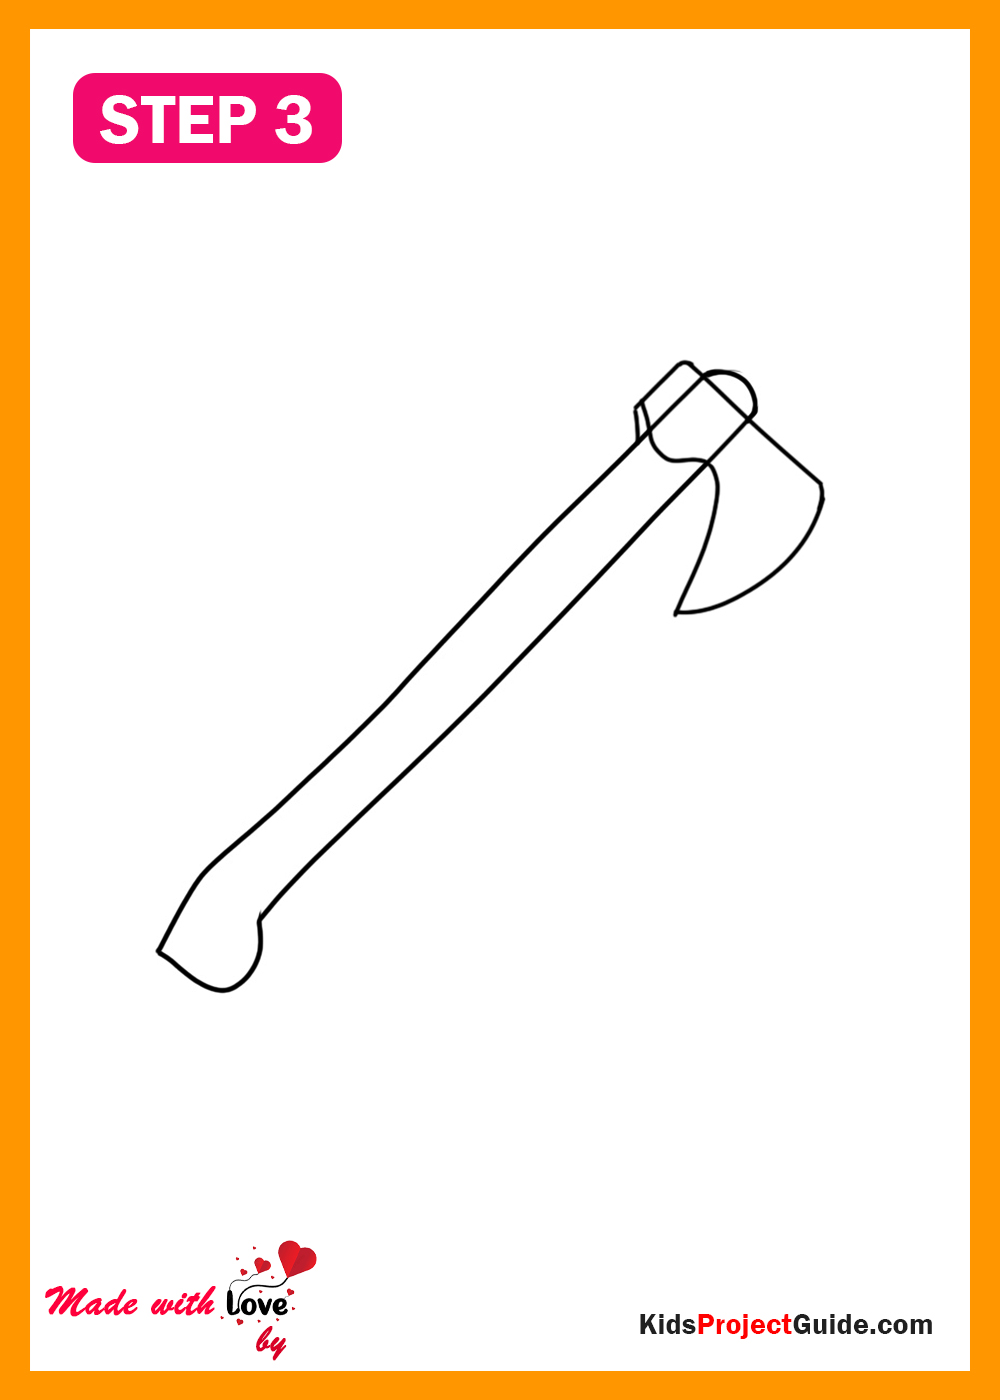
Step 3:
Use your ruler to draw a straight, small line that is perpendicular to these big lines. Make a wavy, inverted W-like line a bit below the straight line, keeping one arm longer than the other. Add a small joining line to the smaller arm to connect it to the big initial line.
Join the longer arm of the W shape to the straight line using a rounded curve. This makes out outline almost ready, with the results already resembling an axe.

Step 4:
Add more details using a few more lines and a circle at the bottom. The outline of your axe drawing is ready after this step.
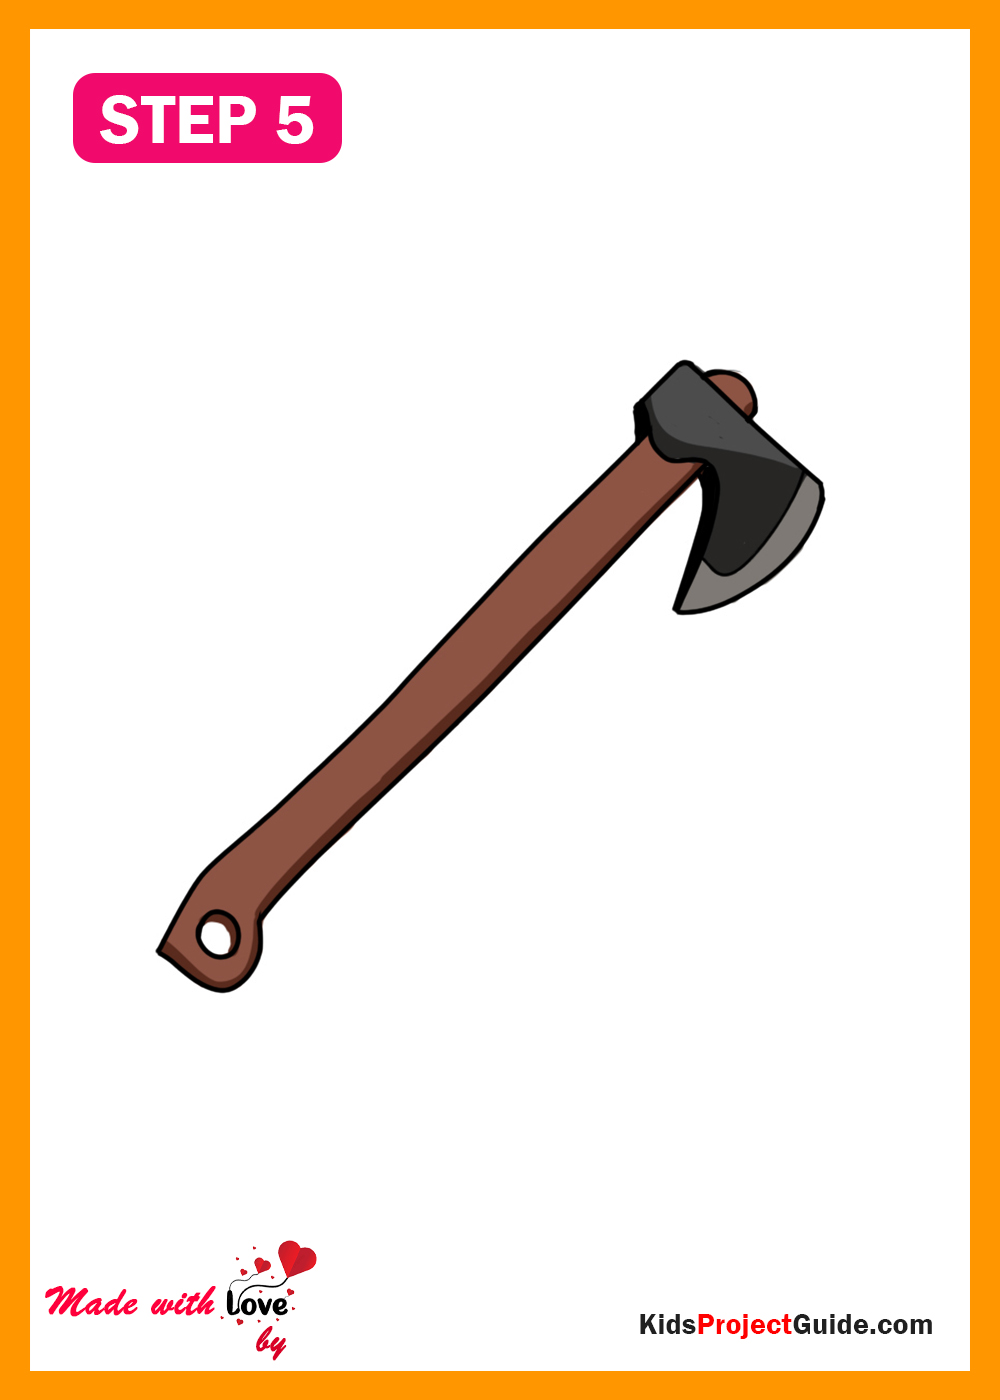
Step 5:
Add colors to make the drawing look more presentable and real. Try using shades of brown for the handle, as it is usually made of wood. You can color the head of the axe using shades of grey and ash, and add shadow details with black tones.
Once you are done with all these steps by following them in their respective orders, you shall get an accurate drawing of an axe. You can add further details and shading using different tones of the used colors.
An Axe Coloring Page
This instructive and simple guide on drawing an axe is very helpful for beginners as it disintegrates the drawing procedure into uncomplicated steps, making the process fun and easier.


GIPHY App Key not set. Please check settings